In my last JMeter post I showed you how to navigate to a web page and assert it’s the right one once you get there. Soon, I want to show you how to login to a web app, but before that it’s time to take a look at the JMeter HTTP(S) Test Script Recorder.
#Note - I’m assuming that you’ve completed the steps in the previous post.
The JMeter HTTP(S) Test Script Recorder is the new(-ish) name for what used to known as the JMeter Proxy Recorder. It’s JMeter’s utility for capturing requests that are initiated from the browser for subsequent analysis in JMeter. In order to successfully craft a login script, we need to know how to build our samplers so that the web app’s servers will accept them as being valid requests. The easiest way to get this information into JMeter is to record it via the proxy.
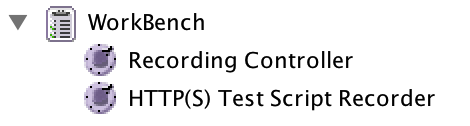
First let’s go into JMeter and setup the proxy by right-clicking on the Workbench icon and selecting Add > Non-Test Elements > HTTP(S) Test Script Recorder.
While you’re there, right-click on the Workbench icon again and add a Recording Controller via Add > Logic Controller > Recording Controller.
Now go into the proxy (HTTP(S) Test Script Recorder), which will look like the below. I’ve highlighted the areas that are important to us right now:
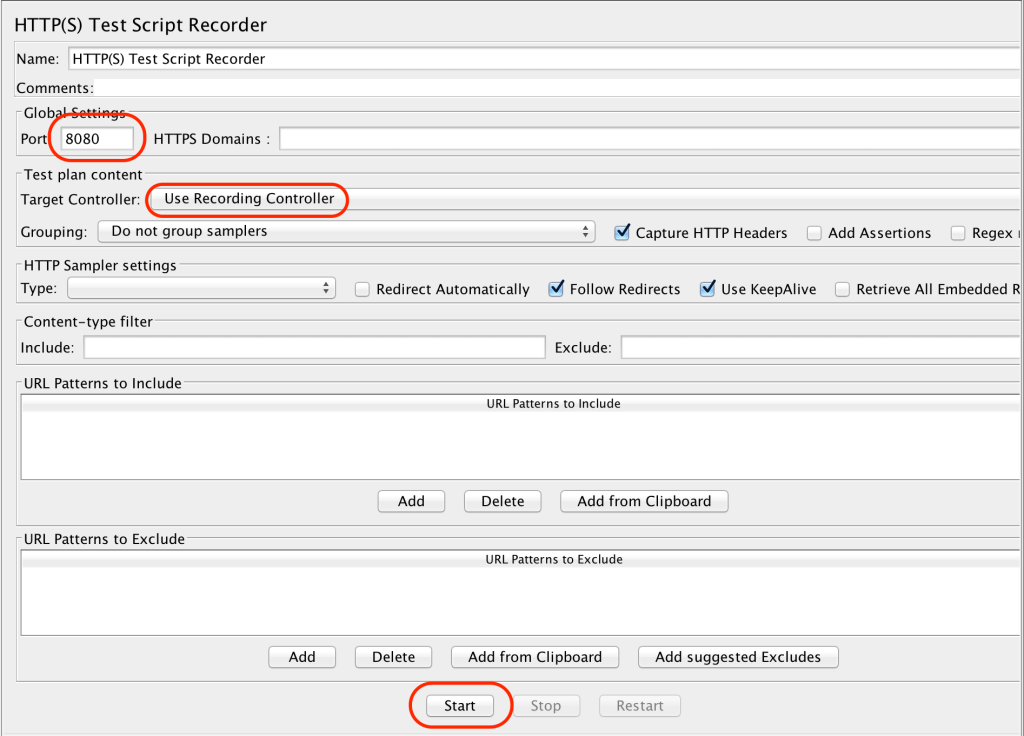
Port is the port number we should direct the browser to if we want the JMeter proxy to capture the requests.
The Target Controller is where we want JMeter to send the requests to, once they’ve been captured. It’s set to Use Recording Controller by default, and we’ve added a Recording Controller to the Test Plan, so I recommend leaving this field in its default setting.
Everything else can be ignored for the time being. Just hit the Start button. When you do, you’ll probably see the message below (unless you’re using JMeter 2.9 or earlier):
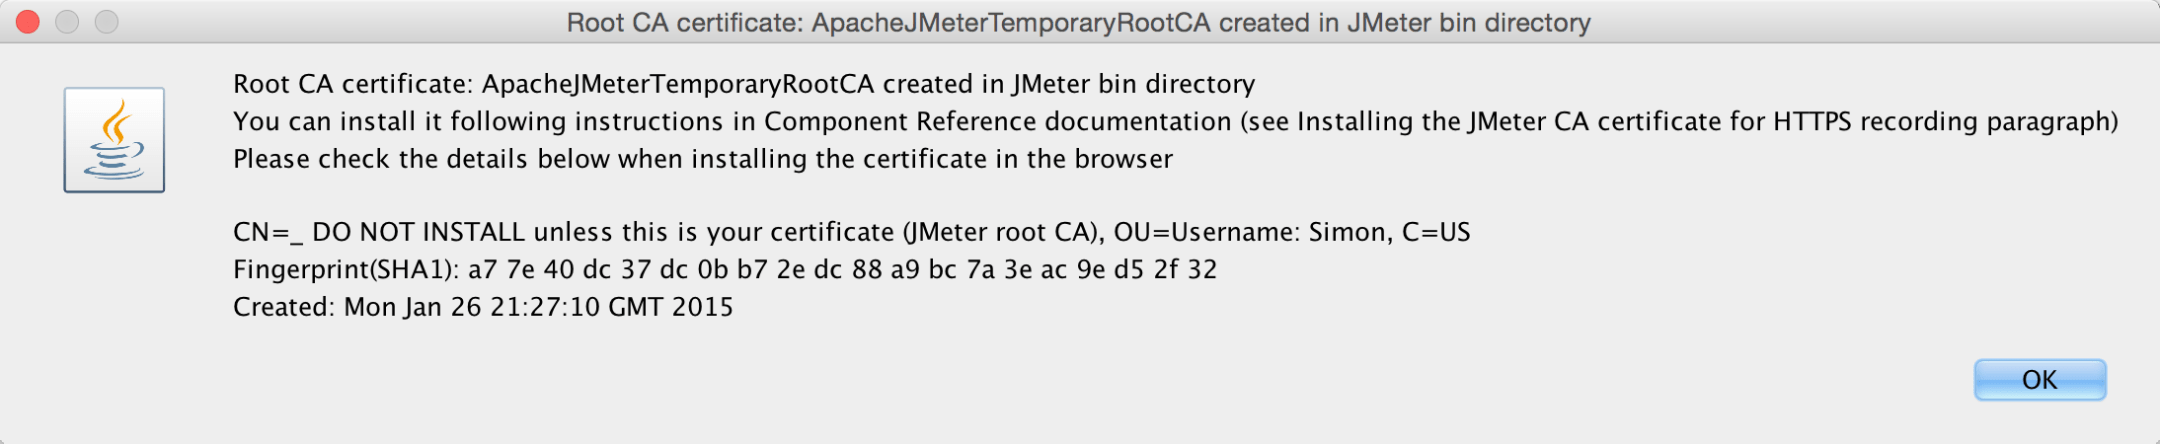
JMeter is telling us that it has generated a certificate to enable interception of HTTPS traffic from the web server. When we get around to trying to simulate a login carried out over HTTPS, you’ll need to accept the JMeter generated certificate in your browser in order to proceed. But we’re not quite there yet.
Before we can start recording you need to install Fox Proxy.
Actually, you don’t strictly need to do this - you could change the proxy manually and then change it back again once you’re done; but using FoxyProxy makes life slightly easier.
Open up your preferred browser (I’m assuming that’s either Chrome or Firefox) and download FoxyProxy by navigating here and following the instructions for the browser you want to use it with.
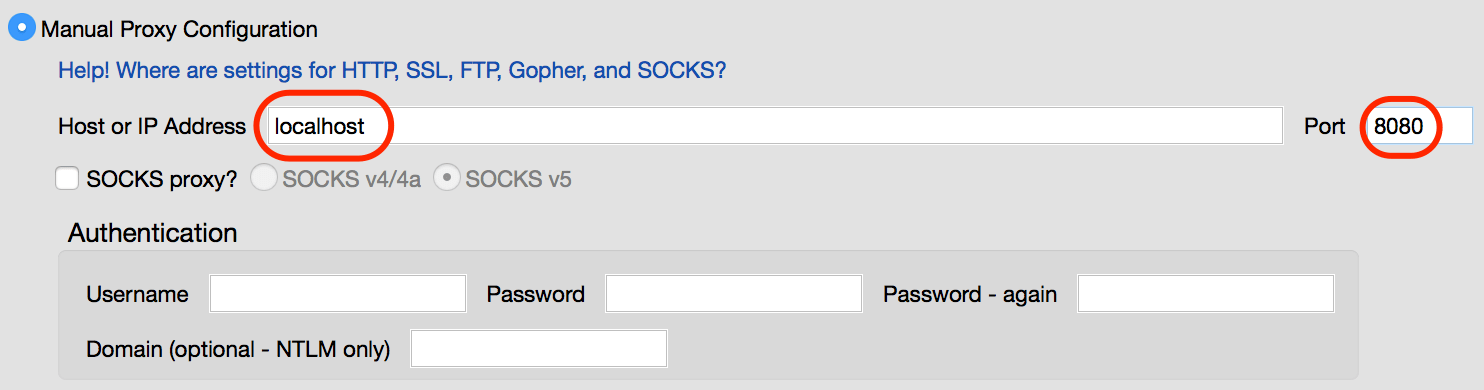
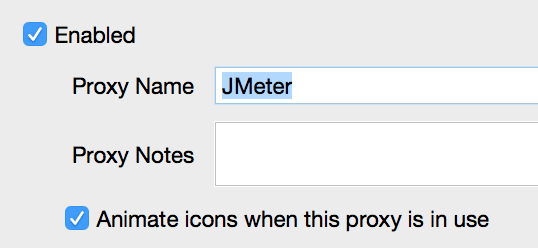
Once you’ve done that (and re-started your browser to activate the plugin), create some new proxy settings in FoxyProxy by opening up the main FoxyProxy window and clicking Add New Proxy. Navigate to the Proxy Details tab, and you should see a form like the below. Enter “localhost” and the port number 8080 in the marked areas.
Click on the General tab and give your proxy a name. I imaginatively called mine JMeter, below.
When you’re done, click on OK, close the main window and then activate your proxy settings by right-clicking on the FoxyProxy button in your browser tool/address bar and selecting Use proxy “JMeter” for all URL’s, where “JMeter” is whatever you decided to call your proxy settings.
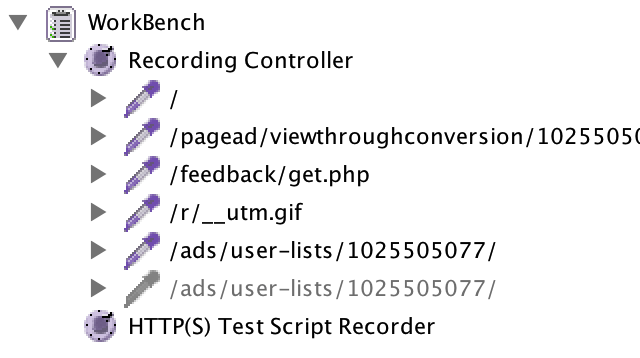
Navigate to a web page in your browser then go back to the JMeter window. Under your Recording Controller you should see that JMeter has captured the requests your browser made when loading whatever web page it was you opened up. I used http://getfoxyproxy.org and saw the results below:
Your results may vary. Navigating to the amazon.co.uk home page produces a significantly different result:
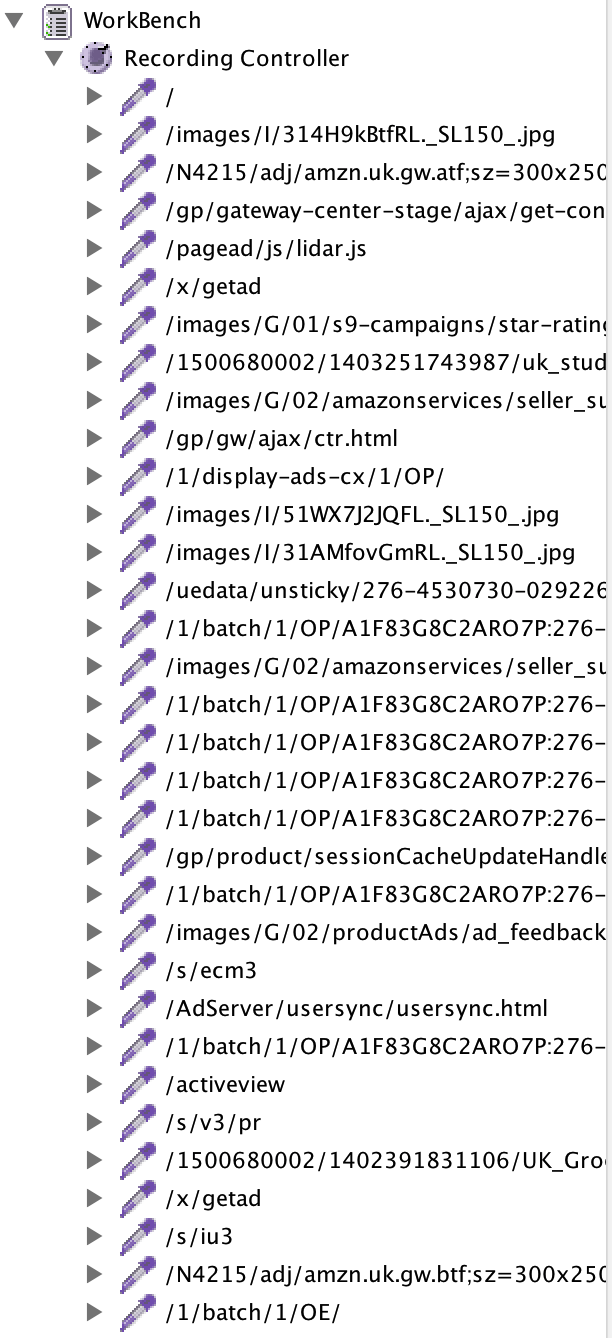
There’s a few different things going on here. I’m not going to go into detail, but a quick scan shows:
- / = the original page request
- /images/I/314H9kBtfRL.SL150.jpg = an image from the amazon site
- /N4215/adj/amzn.uk.gw.atf;sz=300x250;oe=ISO-8859… = a call to a third party web application - Google Double-click in this instance
- /gp/gateway-center-stage/ajax/get-content.html = an ajax call for further content from the Amazon server
And so on and so forth.
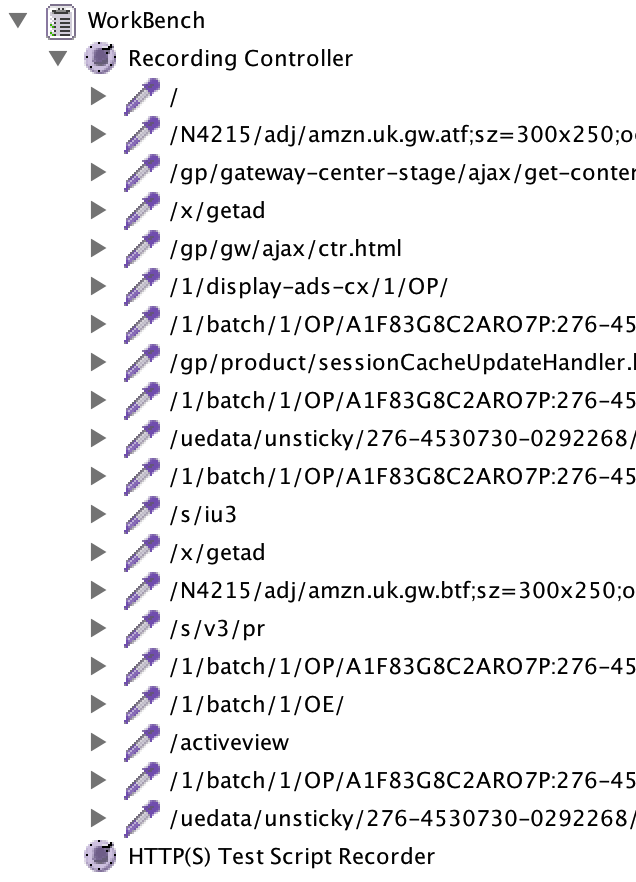
Most of this stuff isn’t relevant for our scripting efforts, though it will be when we come to actually analysing performance results. For the time being we can exclude it from our recordings by going back to the HTTP(S) Test Script Recorder and clicking on the Add Suggested Excludes button, which will result in something similar to the below.

Re-recording our amazon.co.uk request will generate a reduced result set, probably similar to the below:
Now we’re ready to start recording our login script. I’ll cover that in the next post.